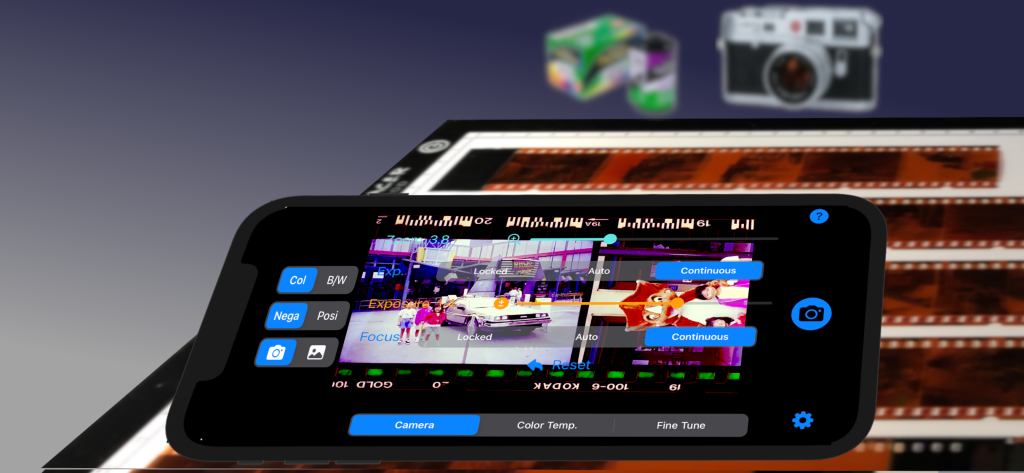
Try FREE APP CLIP NegaViewer !
Open the following URL by Safari
https://appclip.apple.com/id?p=com.aiharasoft.NegaViewerApp.Clip
Important Note
A backlight panel is required to obtain clear images. Please ensure you have a backlight panel for optimal clarity.
NegaViewer utilizes iPhone CPU and GPU for high speed image processing and it requires relatively high battery power. Please close NegaViewer whenever you don’t use it to save power consumption.
Help in other languages
Overview
NegaViewer enables the conversion of film negatives into digital format, allowing users to save the converted images directly to their photo library. Users can adjust parameters such as RGB values, brightness, and contrast as needed.
Requirements
- NegaViewer requires iPhone/iPad with iOS 16.4 or higher to use the metal interface.
- A back light panel is mandatory to obtain clear images.
- NegaViewer needs to access your camera to capture negative films.
- NegaViewer needs to access your iPhone Photo Library to save converted images.
Version
TBD/TBD/2024 V2.0 Bug Fixes, iPhone Tri Camera Supported. iPad Supported
How to use NegaViewer
- Place the film negatives on a backlight panel.
- Use the Zoom slider to adjust the size.
- Fix the camera position.
- Adjust the exposure.
- Select the Color Temperature.
- Adjust the Color Temperature slider as necessary.
- Adjust the R, G, B, Contrast, and Brightness as necessary.
- Press the SAVE button to save the image to your photo library. You can view the saved image by accessing your photo library.
Menu
NegaViewer menu consists of three parts.
Right Menu

ギアボタンを押して設定を表示または非表示にします。

ヘルプを表示します。

現在の画像をフォトライブラリに保存します。
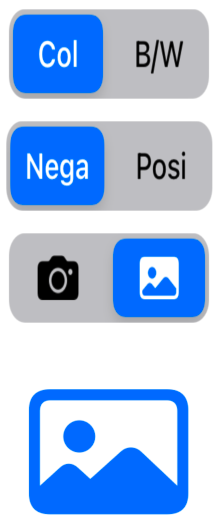
Left Menu

Color Mode:
- Select “Col” for COLOR mode.
- Select “B/W” for BLACK AND WHITE mode.
Film Type:
- Select “Nega” for film negatives.
- Select “Posi” for positive photos.
Input Selection:
- Select the camera icon for CAMERA mode.
- Select the photo icon for PHOTO mode.
Photo Picker:
- In CAMERA mode, the photo picker will not be displayed.
- In PHOTO mode, tap the photo picker to select an photo you have already taken.
- You can process photos that have already been taken.
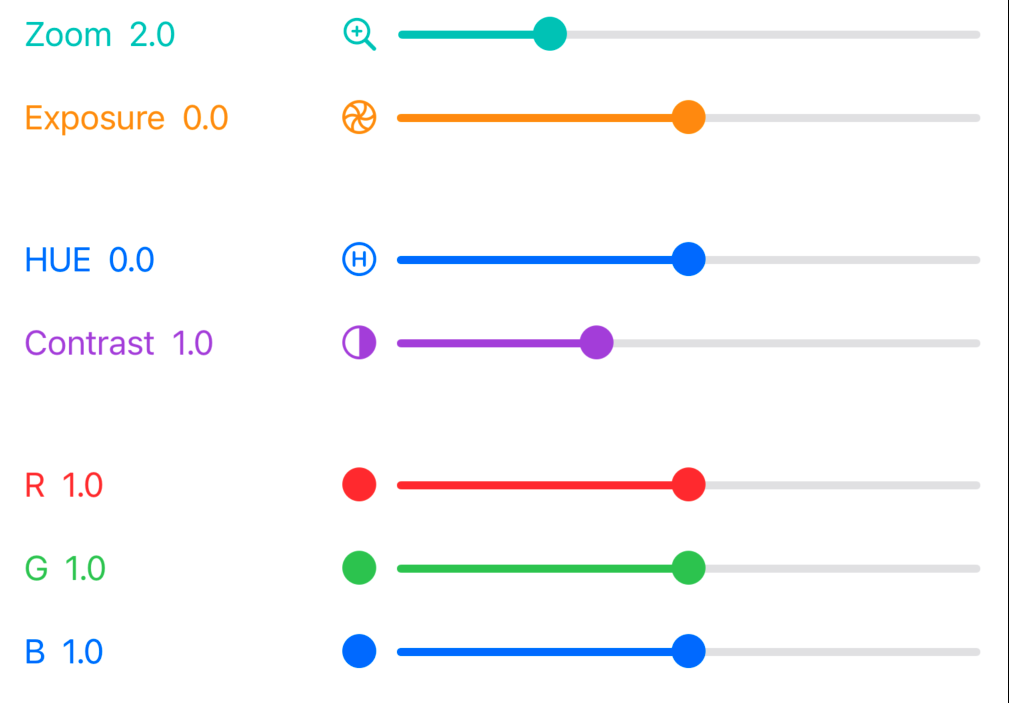
Center MENU


The sliders from top to bottom are Zoom, Exposure, HUE, Gontrast, R, G, B, followed by Reset and Show tutorial toggle button.
In Black and White mode, the R, G, B, and HUE sliders are not displayed.
In Photo mode, the Zoom and Exposure sliders are not displayed.
Press the Reset button to restore the default values.
Press the Toggle switch to Show/Hide Tutorial.
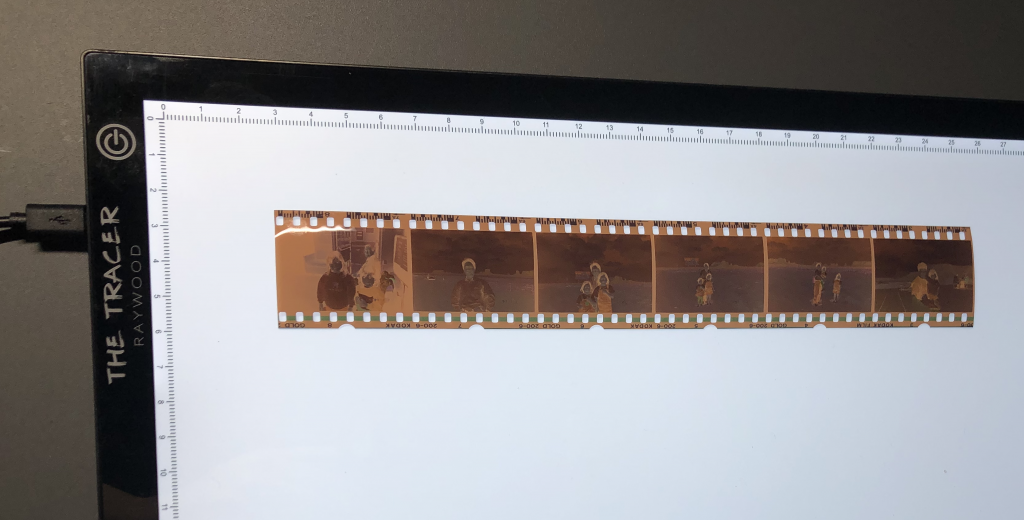
Back Light Panel
Film Negatives need a back light panel to get beautiful image. I’m using the following TRACER A3, which you can buy one with reasonable price.

Privacy Policy
Please refer to NegaViewer Privacy Policy.
Feedback
Any comments and suggestions are welcome!